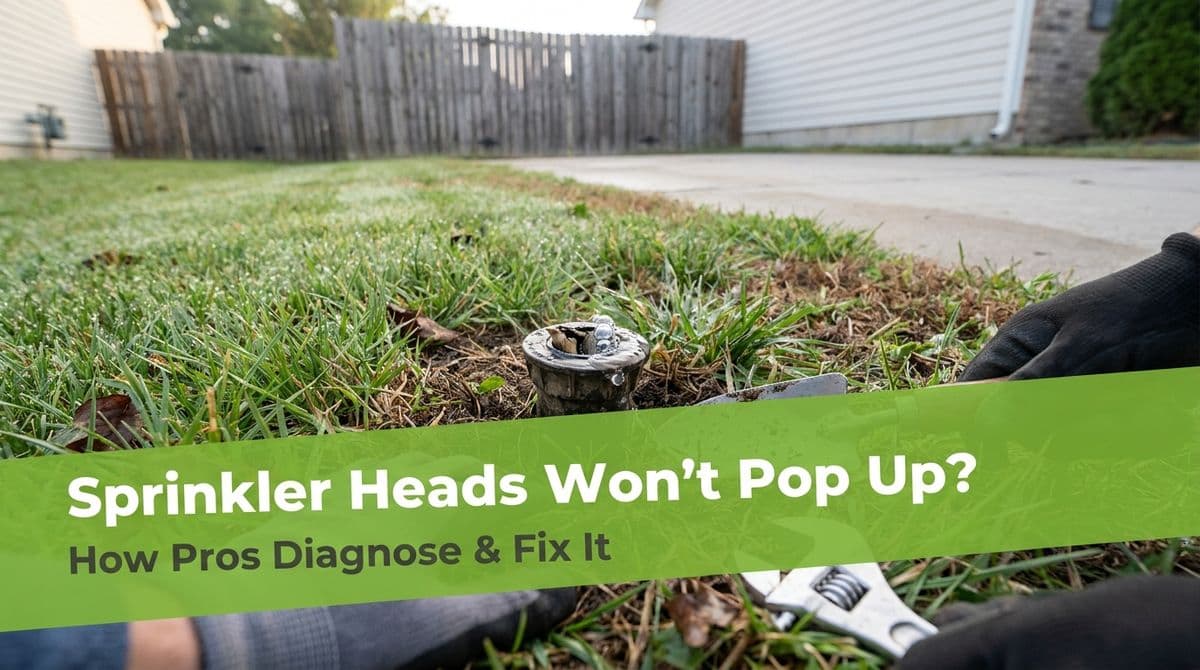
Sprinkler Heads Won’t Pop Up? How Pros Diagnose & Fix It
Sprinkler heads not popping up or spraying right? Learn how pros diagnose warped pop-ups and broken impact heads, plus what you can safely check before calling.
When Sprinkler Heads Won’t Pop Up (Or Spray Right)
We recently got a call from a homeowner — let’s call him Jerry — who was more than a little frustrated. He had three sprinkler heads acting up: two pop-ups that were stuck pointing down and one impact “ratchet” head he was pretty sure he’d nailed with the snowblower over the winter.
Jerry told us, “The pop-ups are all warped and spraying right into the ground. I think the tubing got bent. Can you cut out the bad section and patch it?” He’d done a good job of observing the symptoms, and it was a perfect example of what we see every spring.
In this post, I’ll walk you through how we, as sprinkler pros, diagnose and repair pop-up and impact heads that won’t pop up or spray correctly — and what you can safely check on your own before calling us out.
Common Reasons Sprinkler Heads Don’t Pop Up
When we show up to a system like Jerry’s, we usually start by asking a simple question: Is it one head, a few heads, or the whole zone? That tells us a lot.
If only one or two heads are struggling
- Dirt or debris in the head: Grass clippings, soil, or sand can jam the riser so it won’t pop up or retract properly.
- Leaning or “warped” head: The body can get pushed over by foot traffic, mowers, or frost heave, so the spray shoots into the ground instead of out.
- Cracked or broken head: Snowblowers, vehicles, or even a shovel can break the top so it won’t turn or spray correctly.
- Local pressure issue: A partially closed valve or kinked pipe feeding that head can keep it from fully extending.
If an entire zone is weak
- Main leak in the line: Water escapes underground before it reaches the heads, so they barely rise.
- Valve problem: A stuck or partially opening valve reduces flow and pressure to the whole zone.
- Water supply issue: If multiple zones run at once, your system may be asking for more water than the line can deliver.
Jerry’s case — a couple of bad pop-ups and one obvious broken impact head — pointed us toward isolated, mechanical issues instead of a big underground leak.
How We Diagnose a Stuck or Mis-Spraying Pop-Up Head
On a job like this, we don’t start by digging. We start with a quick visual and a test run.
Step 1: Run the zone and watch
We turn on the affected zone and walk it. With Jerry’s system, the two pop-up heads he mentioned were clearly leaning and barely rising, so the water was soaking a small patch right in front of each head.
When we see that, we’re asking:
- Is the head sitting lower than the grass line?
- Is it tilted, rotated, or sunken on one side?
- Does the riser feel gritty or stuck when gently pulled up by hand?
Step 2: Check for simple obstructions
Sometimes we find something easy — turf grown over the cap, a rock wedged next to the riser, or heavy thatch pressing the head down. We’ll clean around the head, flush it, and test again.
If a quick clean doesn’t fix the pop-up, that’s when we consider whether the head itself is damaged or if the pipe below is deformed, which is what Jerry suspected.
Do “Warped” Sprinkler Heads Mean the Pipe Is Bent?
Homeowners often tell us, like Jerry did, “I think the tubing is warped.” Underground sprinkler pipe (especially PVC or poly) can flex a bit, and freezing, settling soil, or a vehicle driving over the area can certainly shift things around.
From our experience, when a single head is leaning or pointing straight down, it’s usually one of these:
- The head isn’t threaded in straight or the fitting has loosened.
- The swing joint is twisted so the head leans instead of standing vertical.
- The body is cracked and collapsing under soil pressure.
It’s far less common that a long section of pipe has “warped” and needs to be cut out. More often, we unscrew the old head, inspect the fitting or swing joint, correct the angle, or replace the short connection if it’s damaged.
How We Actually Repair Pop-Up Sprinkler Problems
Once we’ve confirmed it’s not just dirt or turf buildup, here’s what our repair usually looks like.
1. Expose and replace the head
- Carefully cut a small circle of sod around the head and set it aside.
- Dig just deep enough to access the fitting or swing joint.
- Unscrew the old pop-up and inspect the threads and connection.
- Install a new, compatible head (we often use Rain Bird to match what’s already there, like Jerry’s system).
- Set the height so the top of the head is level with the finished grade.
If we do find a cracked fitting or a truly kinked section of pipe, that’s when we cut it out, add a repair coupling, and rebuild that short section — but we don’t replace more pipe than necessary.
2. Adjust the spray pattern
With the new head in place, we run the zone again and:
- Set the arc (how far left and right it turns).
- Adjust the radius (how far the water reaches).
- Fine-tune the nozzle if too much water is hitting the sidewalk or pooling in one spot.
Dealing With a Broken “Ratchet” or Impact Head
Jerry’s third problem was a classic: an impact head whose top was missing, likely thanks to a winter run-in with the snowblower. When the top is gone or cracked, there’s no saving it — we go straight to replacement.
Our process is similar to a pop-up repair:
- Dig around the head and expose the connection.
- Unscrew the damaged impact head.
- Install a new, matching impact or a modern rotor that fits the system’s design.
- Set the rotation stops and distance to match the original coverage.
It’s tempting to “make do” with a half-broken head, but that usually means dry spots in the lawn and overspray onto the driveway or house.
What You Can Safely Try Before Calling a Pro
There are a few things homeowners can do without special tools:
- Clear around the heads: Trim grass, remove soil or mulch built up over the cap, and see if they pop up better.
- Gently pull the riser up: If it feels gritty, rinse it with clean water and let it retract a few times.
- Check your controller: Make sure the zone run time and pressure aren’t being split by multiple zones running at once.
If the head is clearly cracked, leaning badly, or missing parts (like Jerry’s impact head), that’s when it’s time to schedule a repair. We typically bill sprinkler work hourly plus parts, and most straightforward head replacements fit comfortably within that first hour.
Need Help With Stubborn Sprinkler Heads?
If your pop-up heads won’t pop up, are spraying straight into the ground, or you’ve got a broken impact head from winter damage, we deal with that every season. We’ll test the zone, track down whether it’s a simple head issue or something deeper in the line, and get your system spraying where it should — not into the dirt.
Reach out, tell us what you’re seeing as clearly as Jerry did, and we’ll take it from there.