How to Revitalize a Tired Lawn After Shrub Removal
Pulled out shrubs and now your lawn is bumpy, weedy, and thin? Learn how we level soil, control quackgrass, and reseed to revitalize a tired yard.
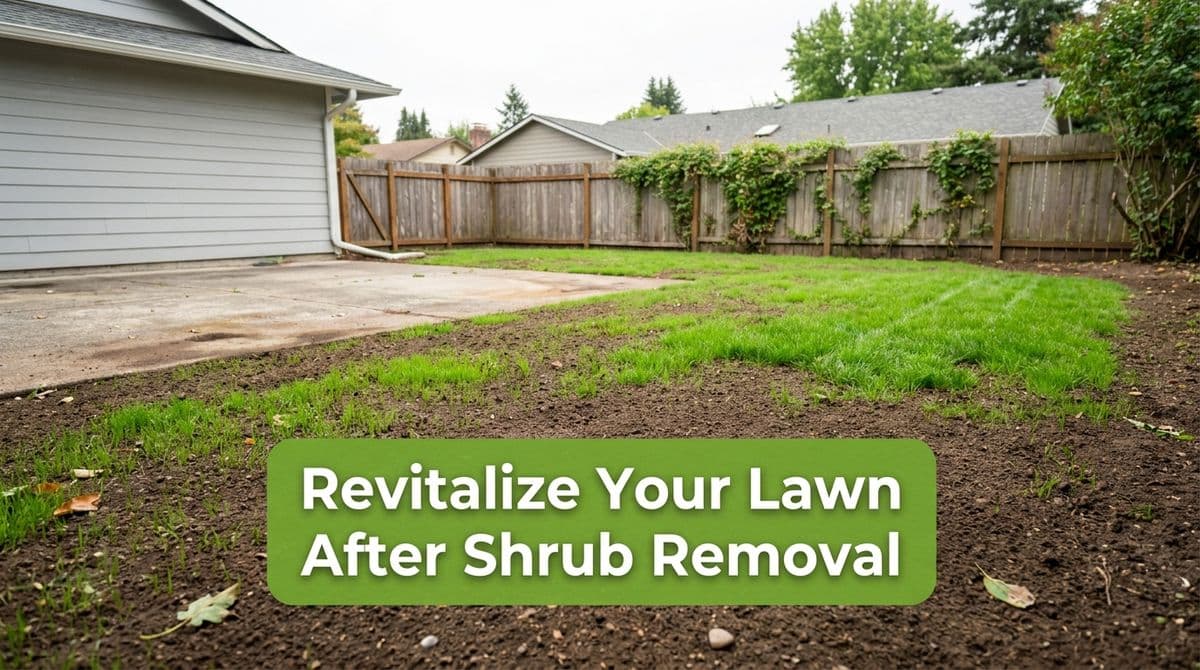
From Pulled Lilacs to Patchy Lawn: Where We Started
We recently got a call from a customer — let’s call him David — who told us his yard “needs a revitalization.” Last year he pulled out a row of lilac shrubs, and ever since, that area has been a mess: uneven ground, thin grass, and big patches of quackgrass taking over. On top of that, his sprinklers weren’t hitting the right spots anymore, so the lawn was getting patchy and weedy.
When we hear a story like David’s — removed shrubs, bumpy lawn, heavy weeds, and tired grass — we know the yard doesn’t need to be completely started over. It just needs a smart, step‑by‑step refresh. We’ll walk you through the same plan we laid out for David: how to fix uneven spots, control weeds (especially aggressive ones like quackgrass), and reseed after shrub removal so your lawn looks thick and healthy again.
Step 1: Take Stock of Your Lawn’s Trouble Spots
Before you start tearing into your yard, it helps to look at it the way we do during a walkthrough. With David, we walked the whole yard and made notes:
- Where the soil had sunk after the lilacs were removed
- Areas that were thin, bare, or full of weeds
- Quackgrass patches that were spreading
- Dry spots and overly wet spots tied to sprinkler issues
This quick assessment helps you decide what needs light touch-ups versus full repair. You might find some spots only need a bit of seed, while others need leveling and more serious weed control.
Step 2: Leveling After Shrub or Tree Removal
Anytime shrubs or trees are pulled out, the soil settles over the next year. That’s exactly what happened to David — he had dips where the lilac roots used to be, making mowing bouncy and water pool in the low spots.
How to Fill Low Spots the Right Way
Here’s the basic process we follow for leveling those areas:
- Clear the area: Rake away rocks, old mulch, and leftover roots as best you can.
- Use a soil blend, not straight sand: We like a mix of topsoil and compost, so it drains well but still holds nutrients.
- Fill in layers: Add 1–2 inches of soil at a time and lightly tamp or walk it in so it doesn’t sink too much later.
- Feather the edges: Blend the new soil gradually into the existing lawn so you don’t create a new bump next to your new fill.
If the low spot is more than a couple inches deep, we’ll usually fill, tamp, water, and let it settle for a week or two before final grading and seeding. The goal is a smooth, mowable surface that won’t collect water.
Step 3: Getting Tough on Weeds and Quackgrass
David mentioned his lawn was getting “kind of heavy with weeds,” and that he had some big patches of quackgrass. Quackgrass is especially tricky — it spreads by underground rhizomes and doesn’t respond well to light treatments.
Dealing Specifically With Quackgrass
Here’s how we typically handle it in a lawn we’re revitalizing:
- Spot-treat or remove: For isolated patches, we either carefully dig out the clumps (getting as many roots as possible) or use a non-selective herbicide just on that area.
- Expect to reseed: Because effective quackgrass control often kills the surrounding grass too, plan to reseed those spots afterward.
- Monitor for regrowth: We watch those areas for a few weeks. If any shoots come back, we treat again before seeding.
For general broadleaf weeds (dandelions, plantain, clover), a selective weed control product that’s safe for lawns usually works well. Time it so you’re not spraying right before or right after seeding; follow the product’s label for how long to wait between weed control and reseeding.
Step 4: Adjusting and Repairing Sprinklers Before You Seed
David’s sprinklers hadn’t been updated since before the lilacs came out, so the coverage pattern no longer matched the lawn. Some heads were spraying where shrubs used to be, and other areas were barely getting any water.
We always encourage homeowners to tackle sprinkler issues before they reseed, so new grass doesn’t dry out or drown. Here’s what we check:
- Head placement: Are there heads blocked by new landscaping, or spraying sidewalks instead of lawn?
- Nozzle type: Are nozzles mismatched, causing some zones to get too much or too little water?
- Run times: Are you watering deeply and infrequently, or just giving a shallow sprinkle each day?
Once coverage is even and zoning makes sense, it’s much easier to keep new seed moist without wasting water.
Step 5: Reseeding Thin and Bare Areas
After we leveled and dealt with weeds in David’s yard, it was time to bring the lawn back to life with fresh seed, especially over the old lilac area and the spots where quackgrass had been removed.
Preparing the Seedbed
Here’s the basic reseeding process we follow on most residential lawns:
- Loosen the top layer: Lightly rake or scratch the soil so the top 1/2 inch is loose; seed needs contact with soil to germinate well.
- Choose the right seed mix: Match what’s already thriving in your yard (sun vs. shade, cool-season vs. warm-season grasses).
- Seed at the recommended rate: More isn’t always better — too much seed can cause weak, spindly grass.
- Gently rake and roll: Rake lightly to cover most of the seed, then use a roller or just your feet to press it into the soil.
- Topdress lightly: A thin layer of compost or peat moss helps hold moisture without smothering the seed.
Watering New Seed Correctly
For David, we reset his sprinklers so the new seed got frequent, light watering at first, then deeper, less frequent watering as it established:
- Germination phase: Keep the top 1/2 inch of soil consistently damp (not soggy) with short, frequent cycles.
- After sprouting: Gradually taper to fewer, deeper waterings so roots grow down, not sideways.
This is where that sprinkler adjustment really pays off — even coverage means even germination.
Step 6: Keeping Your “New” Lawn Looking Good
David didn’t just want a quick fix; he wanted his yard to stay healthy. Once your lawn is leveled, weeds are under control, and new grass has filled in, a few simple habits will keep it from sliding back:
- Mow high: Aim for about 3 inches. Taller grass shades the soil and makes it harder for weeds to get started.
- Feed appropriately: Use a balanced fertilizer at the right times for your grass type and climate.
- Watch for problem spots: Catching thin or weedy patches early lets you fix small issues before they become major projects.
With David’s yard, we set up a simple seasonal plan so he knew when to fertilize, adjust watering, and spot-treat weeds. Within a season, that once-tired lawn started to look lush and even again.
Need Help Revitalizing Your Own Tired Lawn?
If your lawn looks a lot like David’s did — uneven after shrub removal, thinning out, or getting overrun by weeds and quackgrass — you don’t always need to start from bare dirt. A careful walkthrough, some targeted leveling and weed control, and a smart reseeding plan can bring it back.
We’re happy to come out, walk the yard with you, and put together a customized revitalization plan so your lawn feels smooth underfoot and looks great from the curb again.