Retaining Walls & Drainage: Preventing Cracks and Failure
Retaining wall cracking after winter? Poor drainage is usually to blame. Learn how water damages walls and what fixes can protect your yard.
When a Retaining Wall Cracks After Winter
We recently got a call from a customer — let’s call her Becky. She has a retaining wall with a flower bed above it and another smaller wall section nearby. The previous owners had done the work, and on the surface it looked nice. The problem? They never put in any drainage behind the wall.
After this last winter, Becky noticed some of the bricks had cracked, and even one of the larger contour rocks had shifted and split. She wasn’t sure if the whole thing needed to be torn out and rebuilt, or if we could somehow add drainage and save what was there.
We hear this situation a lot: a wall that looks solid for a few years, then suddenly starts cracking, bowing, or leaning after a wet season or a hard freeze. Almost every time, the main culprit is the same — poor drainage.
Why Retaining Walls Need Drainage in the First Place
A retaining wall doesn’t just hold back soil — it also has to deal with water. When it rains or snow melts, water seeps into the soil behind your wall. If that water has nowhere to go, it builds up as hydrostatic pressure pushing on the back of the wall.
Over time, that pressure can:
- Crack blocks, bricks, or stones
- Push the wall forward or cause it to lean
- Wash out soil and create voids behind the wall
- Cause frost heaving and movement during freeze-thaw cycles
In Becky’s case, the wall was holding back a flower bed. Flower beds are usually watered regularly, which means even more moisture behind the wall. Without drainage, that water just sat there through fall and winter, then froze, expanded, and cracked the brick and stone.
Signs Your Retaining Wall Has Drainage Problems
If you have a retaining wall on your property, it’s worth taking a few minutes to walk along it and look for early warning signs like:
- Cracks in the face of the wall or between blocks
- Bulging or leaning sections — the wall no longer straight
- Water stains or efflorescence (white, chalky deposits)
- Soft, muddy soil or soggy spots at the base of the wall
- Soil washout or small sinkholes behind the top of the wall
If you see more than one of these, there’s a good chance drainage is part of the problem, even if it was installed years ago.
How Proper Drainage Should Be Installed
When we design or rebuild a retaining wall, we think of water first, structure second. A good drainage setup typically includes:
- Gravel backfill behind the wall instead of just native soil
- A perforated drain pipe (French drain) at the base of the wall
- Filter fabric to keep soil from clogging the gravel and pipe
- Weep holes or outlets for water to escape through or under the wall
- Proper grading at the top so surface water flows away, not toward, the wall
For a flower bed like Becky’s, the combination of gravel, pipe, and fabric is especially important because of frequent watering. The goal is simple: let water in, move it away quickly, and keep soil where it belongs.
Can You Add Drainage to an Existing Wall?
This was Becky’s big question: could we save her existing wall, or was she looking at a full replacement?
The honest answer is: it depends on how far the damage has gone. Here are the general possibilities we walk through during an on-site visit:
- Minor cracking, wall still straight: We may be able to excavate behind the wall, add gravel, pipe, and fabric, and then rebuild the same blocks or stones.
- Noticeable leaning or bulging: This usually means the wall has been compromised structurally. In many cases, rebuilding is the safer option.
- Heavily deteriorated materials: If the blocks, timber, or stone are flaking, rotting, or crumbling, it’s typically best to replace them while adding proper drainage.
With Becky, we scheduled a walkthrough so we could decide on site whether we could retrofit drainage or if a redesign made more sense. That on-site assessment is crucial; we don’t like guessing when it comes to retaining wall safety.
Different Wall Types, Different Drainage Needs
Not all retaining walls are built from the same material, and each type handles water a little differently:
Block or Modular Concrete Walls
These are common in modern landscapes. Many block systems are designed to be slightly permeable, which helps with drainage — if the right gravel and drain pipe are installed behind them. Without that, they will still crack or tip under pressure.
Timber Retaining Walls
Wood walls can work for smaller heights but are more vulnerable to rot when water is trapped behind them. Good drainage and separation from constantly wet soil are critical to get a reasonable lifespan from timber.
Natural Stone or Boulder Walls
These can be very strong and often look more forgiving, but they still need drainage. Water can find paths through joints and voids, washing out soil and causing rocks to shift or settle. Larger “contour” rocks like the one Becky had can crack or move during freeze-thaw if they’re sitting in constantly wet soil.
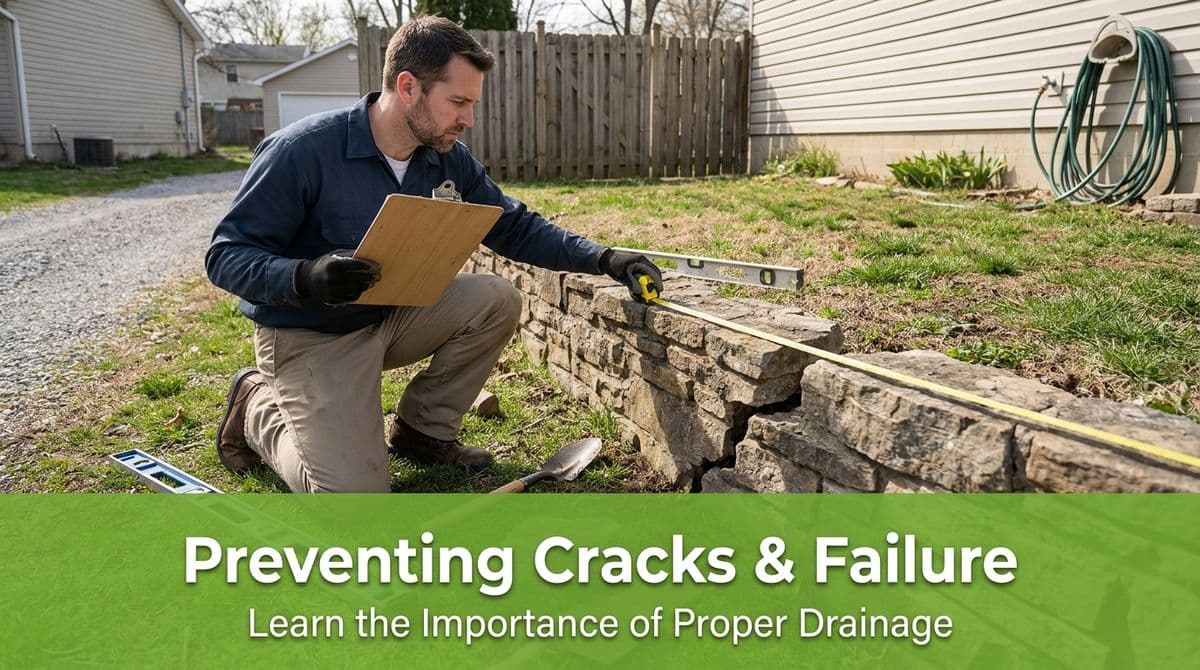
What to Expect During a Professional Inspection and Repair
Homeowners often feel nervous calling about a failing wall because they assume we’ll just say, “Tear it all out.” In reality, our process is pretty straightforward and centered around options:
- Walkthrough and measurements: We look at the wall from all angles, check for movement, measure height and length, and note nearby features like flower beds, downspouts, and slopes.
- Drainage assessment: We look for any existing drain pipes, weep holes, or gravel, and test how water currently moves during rain or irrigation.
- Soil and site conditions: We consider the type of soil, how steep the slope is, and what’s above the wall (patio, driveway, lawn, garden, etc.).
- Discuss options: We explain whether retrofitting drainage is realistic, or if rebuilding with proper base and drainage will be safer and longer lasting.
- Clear estimate: We provide a written estimate that outlines the work: excavation, drainage components, rebuilding or replacing materials, and any grading corrections.
Our goal is always to protect your property and your budget by addressing the actual cause of the problem, not just patching the symptom.
Simple Things Homeowners Can Do Right Now
You don’t need to become an engineer to help your retaining wall last. Here are a few easy steps you can take before and after calling a professional:
- Redirect downspouts so they don’t empty right behind or on top of a wall.
- Avoid heavy watering against the wall; water plants directly instead.
- Keep the top graded so water flows away from the wall instead of pooling behind it.
- Monitor cracks and movement — if they get worse over a season, get an inspection.
If you’re in a situation like Becky, noticing new cracks after a wet winter or spring, it’s worth having us come take a look. Catching drainage issues early can mean the difference between a manageable repair and a full rebuild later on.