Plant Grass on a Bare Slope the Right Way
Got a bare, eroding hill? Learn how we prep the slope, choose soil and seed, and time the project so new grass actually takes hold and stays put.
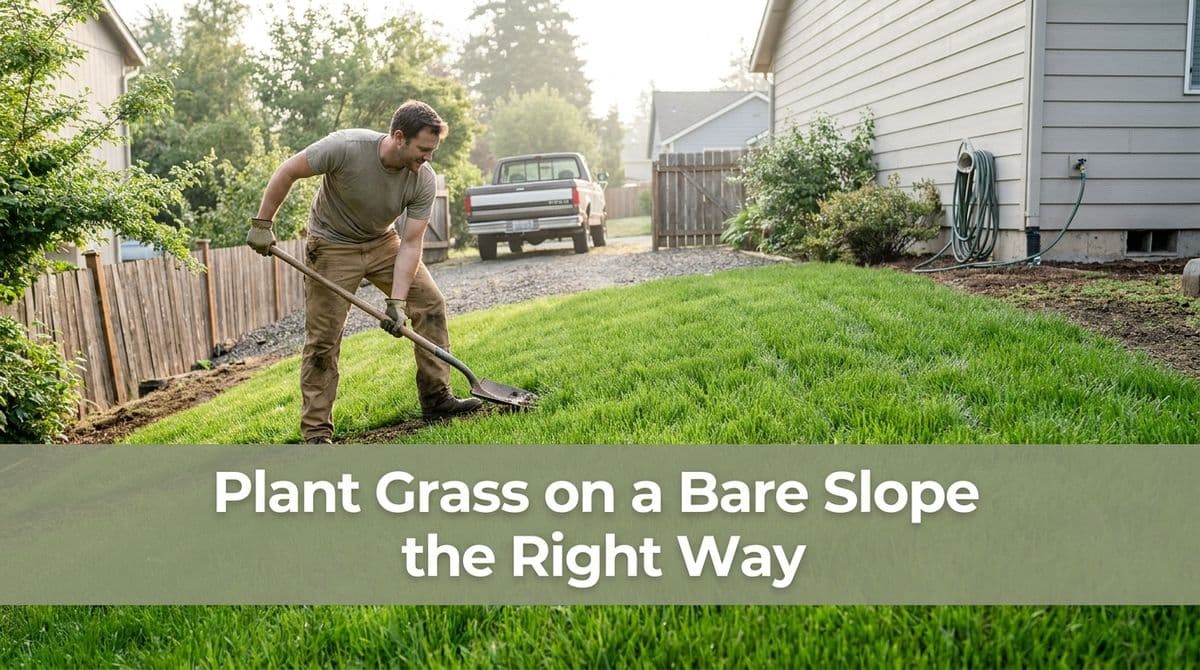
Planting Grass on a Bare Slope: A Real-World HOA Project
We recently got a call from a homeowner association president — let's call her Vicki — who was dealing with a frustrating problem behind several townhouse units. There was a long hill behind the buildings that was basically just bare dirt. No grass, no groundcover… just an eroding, muddy slope that was starting to be both an eyesore and a maintenance headache.
Vicki told us they’d already had a few setbacks with the project and were essentially looking at a complete “start over.” They knew they needed black dirt brought in and new grass seeded, but they weren’t sure how to prepare the hill, what soil to use, or whether it was already too late in the season to get grass established.
Situations like Vicki’s are exactly what we help with, so we figured we’d walk through how we approach planting grass on a bare slope — from prep, to soil, to timing — so you can plan your own project with confidence.
Step 1: Take a Hard Look at the Slope
Before we ever bring in a load of black dirt, we start by evaluating the hill itself. With Vicki’s association, our first walkthrough focused on three big questions:
- How steep is the slope? The steeper it is, the harder it is for seed to stay put and for water to soak in without washing soil away.
- Where does water go now? We look for signs of erosion, small ruts, and areas where water is clearly channeling during rain.
- What’s under the bare dirt? Hard-packed clay, construction fill, or rocks mean we’ll need more soil prep for roots to take hold.
On many HOA and townhouse properties, those back hills were originally shaped just to get the buildings built, not to grow grass. That often means poor-quality fill dirt and compacted ground — big reasons grass never really took off in the first place.
Step 2: Preparing the Hill So Grass Can Actually Grow
Once we understand what we’re dealing with, we move into prep. For a bare slope like Vicki’s, our typical process looks like this:
Loosen and shape the existing soil
We don’t want to just dump black dirt on top of a hardpan surface. We’ll usually:
- Loosen the top few inches with a skid steer, tiller, or hand tools (for smaller areas).
- Break up compacted spots so the new topsoil can blend and roots can penetrate.
- Reshape low spots and channels where water has been cutting ruts.
This step gives the new soil and seed something to “lock into,” instead of sliding down the hill with the first heavy rain.
Bringing in the right soil (and the right amount)
Vicki specifically asked about bringing in black dirt, which is common for these projects. We’re usually aiming for:
- 2–4 inches of quality topsoil across the slope, depending on how poor the existing soil is.
- Even coverage, feathered out at the top and bottom so it blends smoothly with existing grade.
When homeowners ask us, “Is black dirt enough?”, our answer is: it’s a great start, but it needs to be well-graded and lightly compacted so it doesn’t wash away. We’ll typically shape the new soil with a slight, even slope and avoid creating any “bathtubs” where water can sit.
Step 3: Choosing Seed, Mats, and Erosion Control
On a flat yard, you can often get away with just seed and straw. On a hill like Vicki’s, we almost always recommend an extra layer of protection.
Picking the right grass seed mix
For sunny townhouse slopes in our area, we typically suggest:
- A sun-tolerant mix of Kentucky bluegrass, perennial rye, and fescues.
- For shady sections, more fine fescue to handle lower light and root well on slopes.
If we’re working with an HOA, we’ll also ask about any existing grass types on the property so the new area blends in visually over time.
When to use straw vs. erosion control blankets
During Vicki’s call, she mentioned the hill was completely bare, which raises a flag for erosion potential. In those cases, we’ll talk through options like:
- Straw mulch: Works for gentle slopes; it helps hold moisture and protect seed.
- Erosion control blankets (grass mats): Best for steeper hills or high-traffic areas. These netted blankets hold soil and seed in place while grass establishes.
For many HOA slopes, we lean toward blankets on the steeper sections and straw on the milder parts. That mix can keep costs reasonable while still protecting the most vulnerable areas.
Step 4: Timing the Project for Best Results
One of Vicki’s biggest questions was timing: “Is it still plenty of time to get some new grass going? Or are we too late in the season?”
We get that question a lot, especially when projects have had delays. Here’s how we usually guide homeowners and associations:
- Best windows in our climate are typically early fall and late spring.
- Early fall seeding benefits from cooler air, warm soil, and more consistent moisture.
- Late spring can also work but may require more watering as summer heat arrives.
If we’re late in the season (like Vicki was worried about), we’ll often walk the property and then talk through two options:
- Proceed now: If we still have a decent weather window and can start quickly, we may go ahead with the project, while being upfront that some touch-up seeding might be needed next season.
- Wait until early next year: If it’s truly too late, we’ll recommend holding off so the new grass has the best chance to establish fully and last all year.
We’d rather tell an HOA, “Let’s wait for better conditions,” than take the job at the wrong time and have them disappointed with thin or patchy grass.
Step 5: Watering and Early Care (Where Many Slopes Fail)
Even with perfect prep and timing, a slope can fail if it doesn’t get the right aftercare. Here’s the basic routine we recommend to clients like Vicki:
- Water lightly, but often at first — enough to keep the top inch of soil consistently damp, not soggy.
- Avoid heavy runoff from sprinklers; gentle spray or oscillating sprinklers are better than powerful rotors on a hill.
- Limit foot traffic until the grass has been mowed at least 2–3 times.
For HOAs, we also suggest designating a point person for the watering schedule so everyone knows what’s expected and the slope doesn’t get forgotten.
Thinking About Rebuilding a Bare Hill?
If you’re staring at a bare, eroding slope like Vicki’s association and wondering where to start, the key is to think in phases: evaluate the hill, prep the soil, protect the seed, choose the right timing, and commit to early care.
Whether you’re an HOA board member or a single homeowner with a problem hill, we’re happy to walk your property, talk through options like topsoil depth, seed choice, erosion blankets, and timing, and put together an estimate that fits your goals and your calendar.
Done right, that bare slope can turn into a stable, green hillside instead of a constant headache — and it all starts with a thoughtful plan before the first load of black dirt shows up.